Client Profiles
The client profile page serves as a central hub for managing client information, storing important documents, and accessing key features.
Accessing Client Profiles
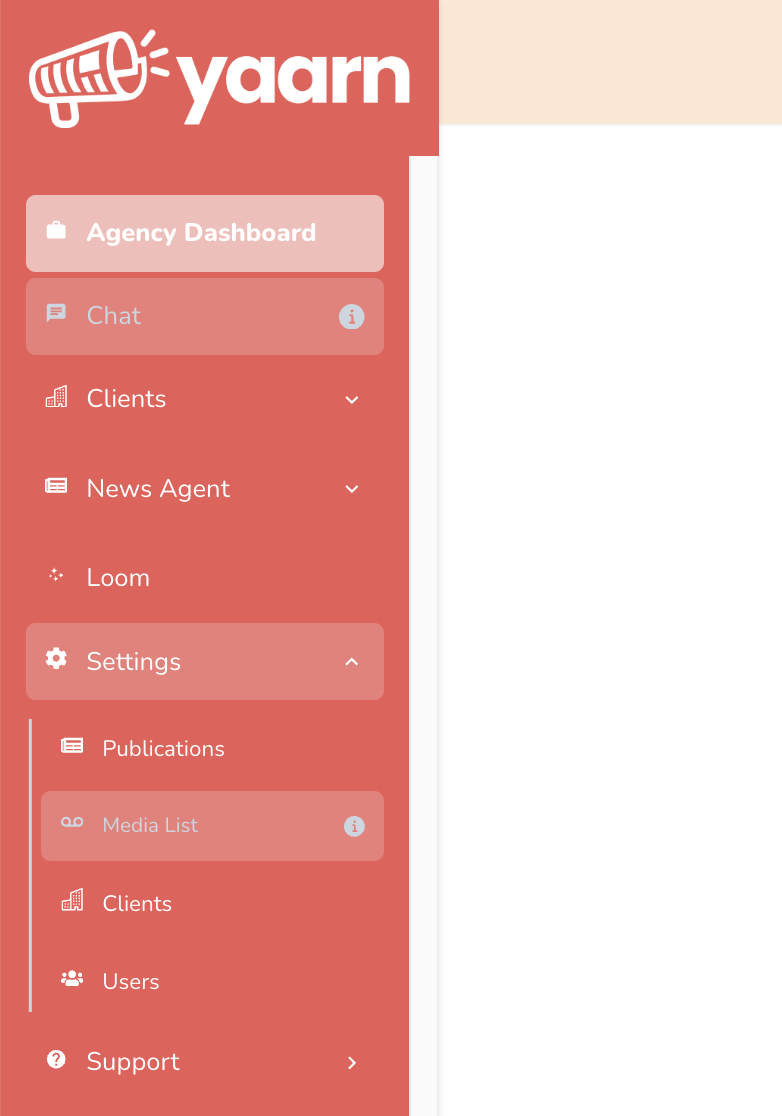
- Click Clients in the sidebar
- Select the desired client name
Profile Features
Main Information
The profile page displays essential client information including:
- Company details
- Contact information
- Service scope
- Brand assets
- Team assignments
Meeting Notes
To add meeting notes:
- Click Meeting Notes → Create Meeting Notes
- Add a title
- Enter your notes
- Add relevant tags for easy searching
- Click Preview to review formatting
- Click Submit to save
Note: To delete a note, click the three dots (⋮) in the top right corner of the note.
Comment Bank
Store and manage client comments and statements:
- Click Comment Bank → Create Comment
- Add a title
- Enter the comment or statement
- Add relevant tags
- Click Submit to save
Note: Comments can be deleted using the three dots (⋮) menu.
Quick Access
From the profile page, you can quickly access:
- Account activities
- Client coverage
- Competitor analysis
- Meeting notes
- Comments and statements
Client View
If clients have been invited to your workspace, they will see a simplified version of their profile page that includes:
- Basic company information
- Recent activities
- Coverage updates
- News mentions
Note: Clients cannot see the Notes section or internal team communications.
Managing Clients with Pressto
Managing your clients efficiently is easy with Pressto. Here, we’ll guide you through how to add new clients and edit existing ones on our platform.
Adding a New Client
- Navigate to Settings → Clients → Create Client
Important Note: If you add a client to the Employee section, they will be invited to their Pressto client page and will be able to see their news for the day, activities in their planner, and coverage. Skip this step if you’re not ready to invite clients to your Pressto workspace.
Tip: If you’re in a hurry, just add the client name, tags and city. You can update everything else later.
- You’ll be taken to a setup wizard with five stages:
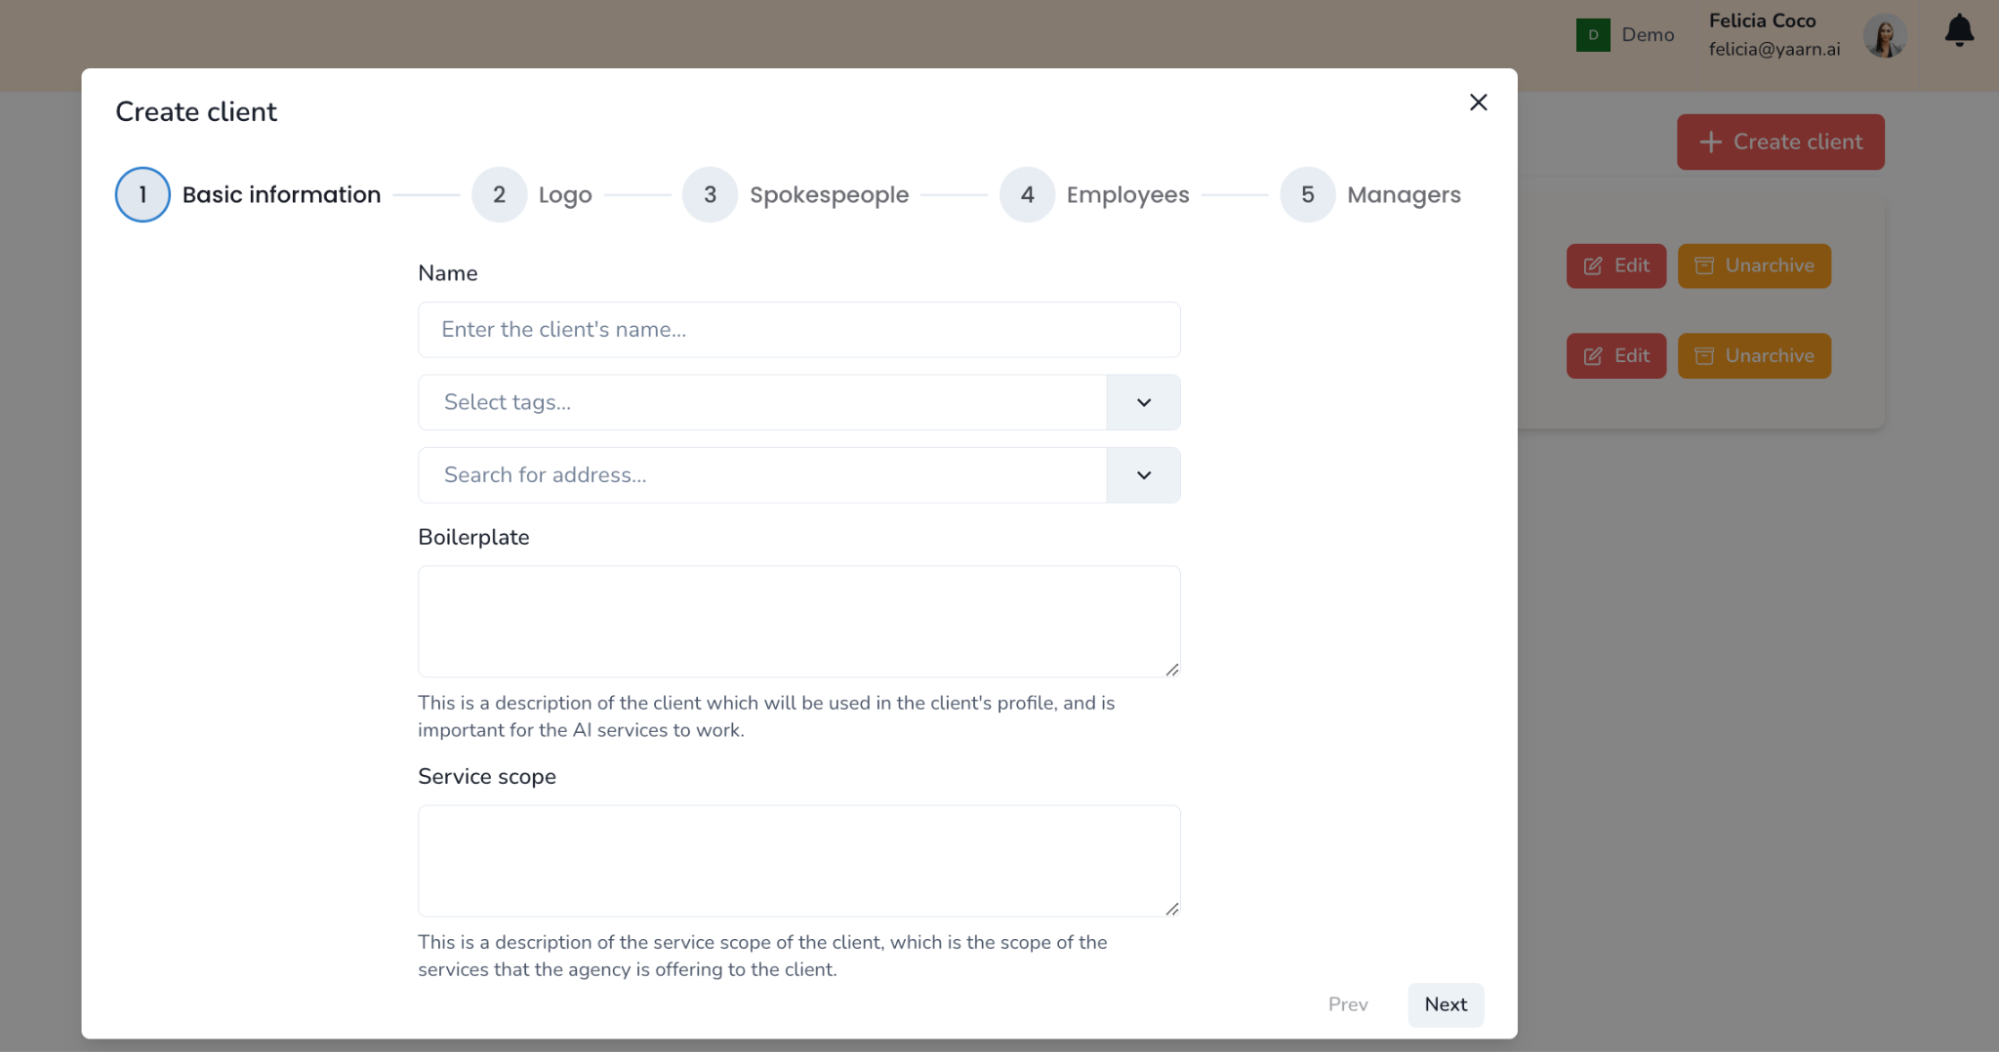
First Step
Enter the following details:
- Client’s name: This identifies the client in your workspace
- Tags: Essential for tagging news wrap items
- Address: The main location of the client’s business
- Boilerplate: Brief description of the client’s company (important for AI context)
- Service Scope: Range of services your agency is offering
Second Step
Upload your client’s logo for use in client profiles.
Third Step
Input your client’s spokespeople:
- Name
- Title
- Biography Add multiple spokespeople using the ‘Add Spokesperson’ button.
Fourth Step
Add the client’s employees to the database.
Fifth Step
Assign agency managers to the client from your team’s dropdown list.
Managing Existing Clients
Main Information
The profile page displays essential client information including:
- Company details
- Contact information
- Service scope
- Brand assets
- Team assignments
Meeting Notes
To add meeting notes:
- Click Meeting Notes → Create Meeting Notes
- Add a title
- Enter your notes
- Add relevant tags for easy searching
- Click Preview to review formatting
- Click Submit to save
Note: To delete a note, click the three dots (⋮) in the top right corner of the note.
Comment Bank
Store and manage client comments and statements:
- Click Comment Bank → Create Comment
- Add a title
- Enter the comment or statement
- Add relevant tags
- Click Submit to save
Note: Comments can be deleted using the three dots (⋮) menu.
Quick Access
From the profile page, you can quickly access:
- Account activities
- Client coverage
- Competitor analysis
- Meeting notes
- Comments and statements
Client View
If clients have been invited to your workspace, they will see a simplified version of their profile page that includes:
- Basic company information
- Recent activities
- Coverage updates
- News mentions
Note: Clients cannot see the Notes section or internal team communications.
Hiding Analysis from Clients
You may want to hide the sentiment analysis and competitor analysis from certain or all clients. Here is a step-by-step guide on how to do this.
Hiding Analysis for All Clients
- Navigate to Settings → Users → Advanced Options → Roles
- Click on the Client role to modify permissions
- Untick the boxes for “Can view competitor analysis” and “Can view client sentiment”
Hiding Analysis for Specific Clients
If you want to hide these analyses only from specific clients, you will need to create a new role.
- From the Roles page, click “Add Role”
- Name your new role and assign the desired permissions, ensuring that “Can view competitor analysis” and “Can view client sentiment” remain unticked.
- Go back to the Settings → Users page found under the left-hand navigation bar.
- Click Edit for each user that you want to assign the new role to, then select the new role from the dropdown menu.
Note: These settings can always be adjusted later if needed.